 by
by One of the beauties of our programming world is the ability to choose between a wide range of technologies and tools to build applications. For mobile development, we have a plethora of options, from native languages like Swift and Kotlin to cross-platform frameworks like React Native and Flutter. And surprisingly enough, here I was tinkering with Swift and discovering the joys of SwiftUI.
To be honest, I was very skeptical about Swift at first and always avoided touching native development. However, the tables were turned when I started thinking about developing an iOS app with SwiftUI. Man.. it feels so smooth and elegant. The syntax is clean, the components are intuitive, and the built-in animations are just delightful. I was amazed at how quickly I could whip up a UI that looked and felt like a native app (as it is). The more I played with it the more I realized how powerful and intuitive it is.
I mean look at this:
import SwiftUI

struct ContentView: View {
    @State private var showFavoritesOnly = false

    var filteredLandmarks: [Landmark] {
        ...
    }
    var body: some View {
        List {
            Toggle(isOn: $showFavoritesOnly) {
                Text("Favorites only")
            }

            ForEach(filteredLandmarks) { landmark in
                NavigationLink {
                    LandmarkDetail(landmark: landmark)
                } label: {
                    LandmarkRow(landmark: landmark)
                }
            }
        }
        .animation(.default, value: filteredLandmarks)
        .navigationTitle("Landmarks")
    }
}- Ready building blocks. Lists, Toggles, Buttons, NavigationLink, etc.
- Built-in performant animations
- Reactive state management
- No manual imports
Motivated by this newfound love for SwiftUI, I decided to explore how I could integrate React Native (my expertise) into an existing iOS app. After all, React Native is known for its flexibility and ease of development, and it would be great to leverage both technologies in a single application.
Enter brownfield development.
What is brownfield development?
Do we refactor or do we start things from scratch? This is a common dilemma in software development. When faced with an existing codebase, developers often have to choose between refactoring the old code or starting a new one. Refactoring can be time-consuming and risky, while starting from scratch can lead to a loss of valuable features and functionality.
Brownfield development is the process of integrating new tech into existing applications, allowing for a gradual transition rather than a complete rewrite. This is particularly useful when you want to introduce a new technology without compromising your team development speed.
In the context of React Native, brownfield dev means being able to gradually add React Native views and components into existing native views.
Integrating React Native into an existing iOS app can be a daunting task, especially if you’re not familiar with the intricacies of both platforms. You need to understand how to bridge the gap between Swift/SwiftUI, Objective-C (ugh), and React Native, manage dependencies, and ensure that both worlds can communicate effectively.
This is where react-native-brownfield comes in handy. This library takes care of the boilerplate and, almost, all platform-specific knowledge required to integrate React Native into existing native applications.
- Supports both UIKit and SwiftUI
- Compatible with New Architecture
- Supports Jetpack Compose for Android
- No need to manage cocoapods or gradle files
How does React Native render views?
React-Native has a different approach to native development compared to other platforms. It uses a bridge that connects JavaScript code with native code. The bridge allows for communication between the two languages, allowing developers to create native mobile applications using JavaScript.
At a high level, React Native renders views by synchronously turning React trees into native views by using Fabric, the C++ rendering system for React Native.
The steps required are:
- Render: Creates a new React Element tree, which it uses to render it into a native representation.
- Commit: Applies the changes to the native view hierarchy, including layout changes, generating trees to be mounted, etc.
- Mount: Attaches the native views to the view hierarchy.

Can we beat native performance?
This is a fair question to be asked. After all, if we came this far to be able to run chunks of JS code into native apps at 60fps, why aren’t we close to having the same performance for the whole app? Why do we need to choose external libraries to provide a better list (FlashList), images (FastImage), or smaller bundles (app size)?
A significant amount of JS code is executed when running the React native internals, like making a JS call, and communicating via the main thread through the JSI (JavaScript Interface). Many of the performance challenges we end up facing originate from that JS overhead.
There is a cost associated with thread work and interoperability between JS and native code.
As much as we try, these are the points that make it hard for React Native to achieve the same performance as native apps.
Setting up React Native Brownfield
You can check the full code here.
Install
react-native-brownfieldcd react-native-ios-brownfield-poc npm install react-native-brownfield cd ios RCT_NEW_ARCH_ENABLED=1 pod installCopy over iOS files to the RN workspace project

- Start React Native Brownfield at the app entry point
// App.swift
import SwiftUI
import ReactBrownfield

@main
struct LandmarksApp: App {
    init() {
      ReactNativeBrownfield.shared.startReactNative {
        print("⚛️ React Native bundle loaded")
      }
    }

    var body: some Scene {
        WindowGroup {
            ContentView()
        }
    }
}
Note: It is important to use the
@mainattribute on this view only to declare it as the entry point of the app.
- Register the screen to be exposed to Swift
import App from './App';
AppRegistry.registerComponent('LandmarksFeed', () => App)- Create a SwiftUI view to render the React Native component (e.g, Feed, FeatureXYZ)
import SwiftUI
import ReactBrownfield

struct Feed: View {
    var body: some View {
      ReactNativeView(moduleName: "LandmarksFeed")
    }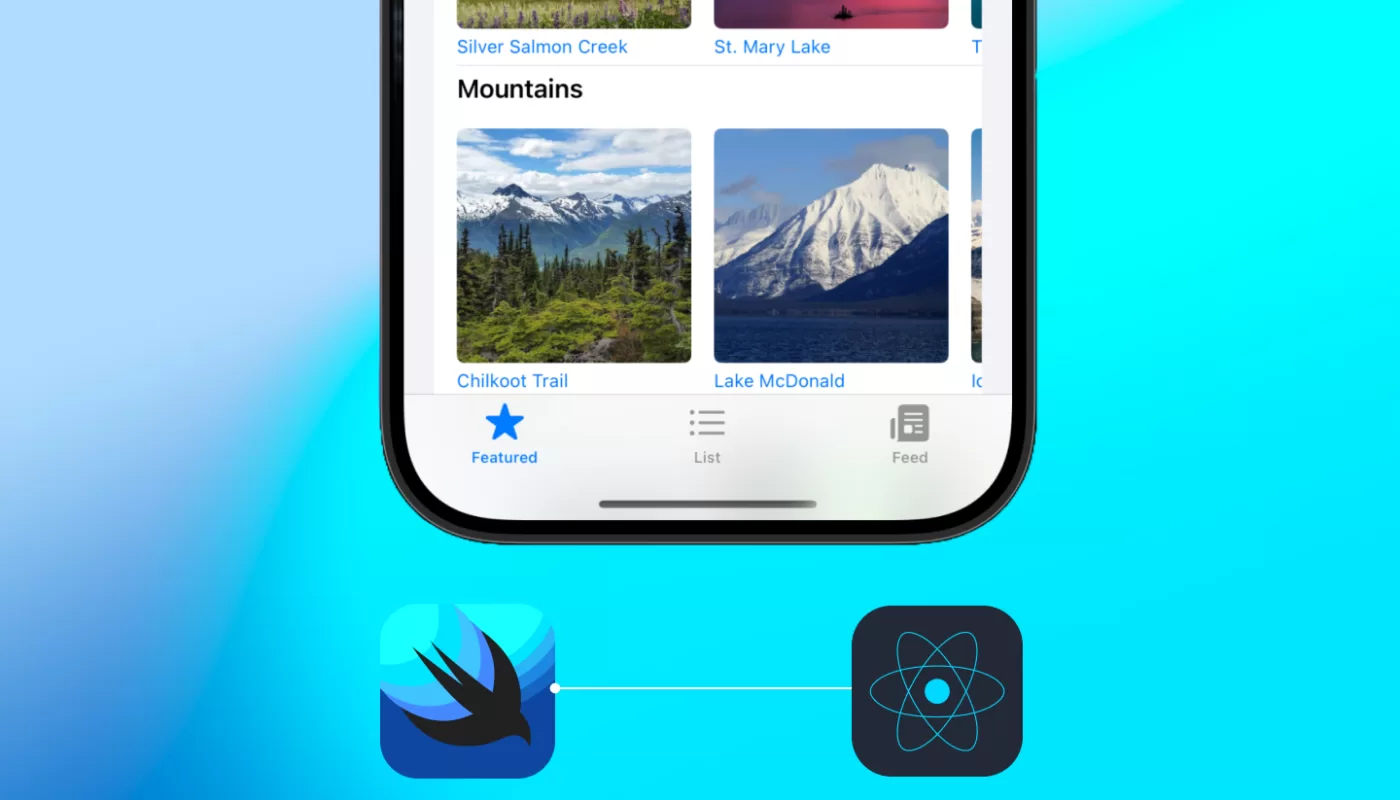
}- Finally, start the Metro server and build the iOS app through Xcode
npm startThat’s it! This is how it’s going to look like:
How do we interop between SwiftUI and React Native?
While experimenting with React Native Brownfield, I was curious to see if I could have a way to communicate between SwiftUI and React Native to be able to share some state. It turns out, you can!
There are 3 important files to be aware of:
.
├── Landmarks-Bridging-Header.h
├── RCTEventEmitter.swift
└── TurboEventEmitterBridge.mLandmarks-Bridging-Header.h: The bridging header is used to expose Swift code to Objective-C, allowing you to use Swift classes and methods in your React Native components.
#import <React-RCTAppDelegate/RCTDefaultReactNativeFactoryDelegate.h>
#import <React/RCTEventEmitter.h>
#import <React/RCTBridgeModule.h>TurboEventEmitterBridge.m: This file is responsible for bridging events between SwiftUI and React Native. It allows you to send events from SwiftUI to React Native and vice versa.
#import <React/RCTEventEmitter.h> // <- This line is essential
#import <React/RCTBridgeModule.h>

@interface RCT_EXTERN_MODULE(TurboEventEmitter, RCTEventEmitter)

RCT_EXTERN_METHOD(sendStateUpdate:(NSDictionary *)data)

@endRCTEventEmitter.swift: It’s the actual swift implementation of the event emitter that will be used to send events from SwiftUI to React Native asynchronously.
import Foundation
import React

@objc(TurboEventEmitter)
class TurboEventEmitter: RCTEventEmitter {

  public static var shared: TurboEventEmitter?

  override init() {
    super.init()
    TurboEventEmitter.shared = self
  }

  override func supportedEvents() -> [String]! {
    return ["onAppStateChanged"]
  }

  override static func requiresMainQueueSetup() -> Bool {
    return true
  }

  @objc
  func sendStateUpdate(_ data: [String: Any]) {
    sendEvent(withName: "onAppStateChanged", body: data)
  }
}
Finally, in order to receive data from Swift, we can instrument a listener in React Native that can listen for the onAppStateChanged event and update the state accordingly.
import { useState } from 'react'
import { NativeEventEmitter, NativeModules } from 'react-native';

const emitter = new NativeEventEmitter(NativeModules.TurboEventEmitter);

function App() {
  const [data, setData] = useState({})

  useEffect(() => {
    const subscription = emitter.addListener('onAppStateChanged', data => {
      setData(data);
    });

    return () => {
      subscription.remove();
    };
  }, []);
}
Wrap up
Following the same path, you can take advantage of the TurboModule system to perform operations from React Native over to Swift.
And definitely, there is more you can do with React Native in brownfield projects; it’s an alternative that can improve your development speed and flexibility by allowing you to incrementally adopt React Native for certain features.
We want to work with you. Check out our Services page!